9 Great Binocular Tips
9 Great Binocular Tips
9 expert tips to improve your hunt
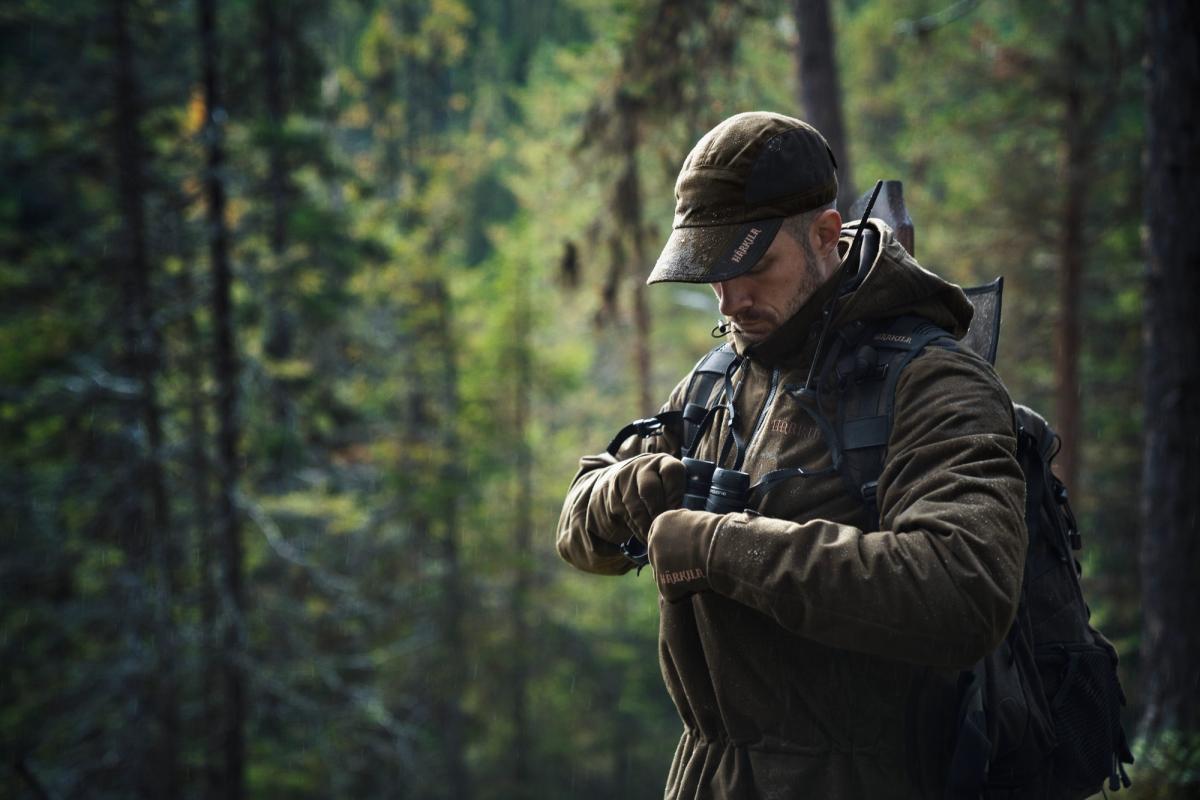
You’ve bought yourself a pair of good binoculars. But are you getting the most out of them? It doesn’t matter if I’m hunting the mountains of Greenland or the bush of Cameroon: Good binoculars is in my mind one of the most important things you can bring to any hunt. At times it is the most important part. But good glasses are not enough, you also need the right kind of binoculars for the hunt you do, and the right technique for using it.
Here is what I have found to be most effective regarding glassing, both when it comes to gear, when to use what types of binoculars, and how to use them.
“People will use a shooting stick to shoot a deer at 100 meters, but the same people will not bring a tripod to spot the deer at 1.500 meters, because it in their mind weighs too much. This makes no sense.”
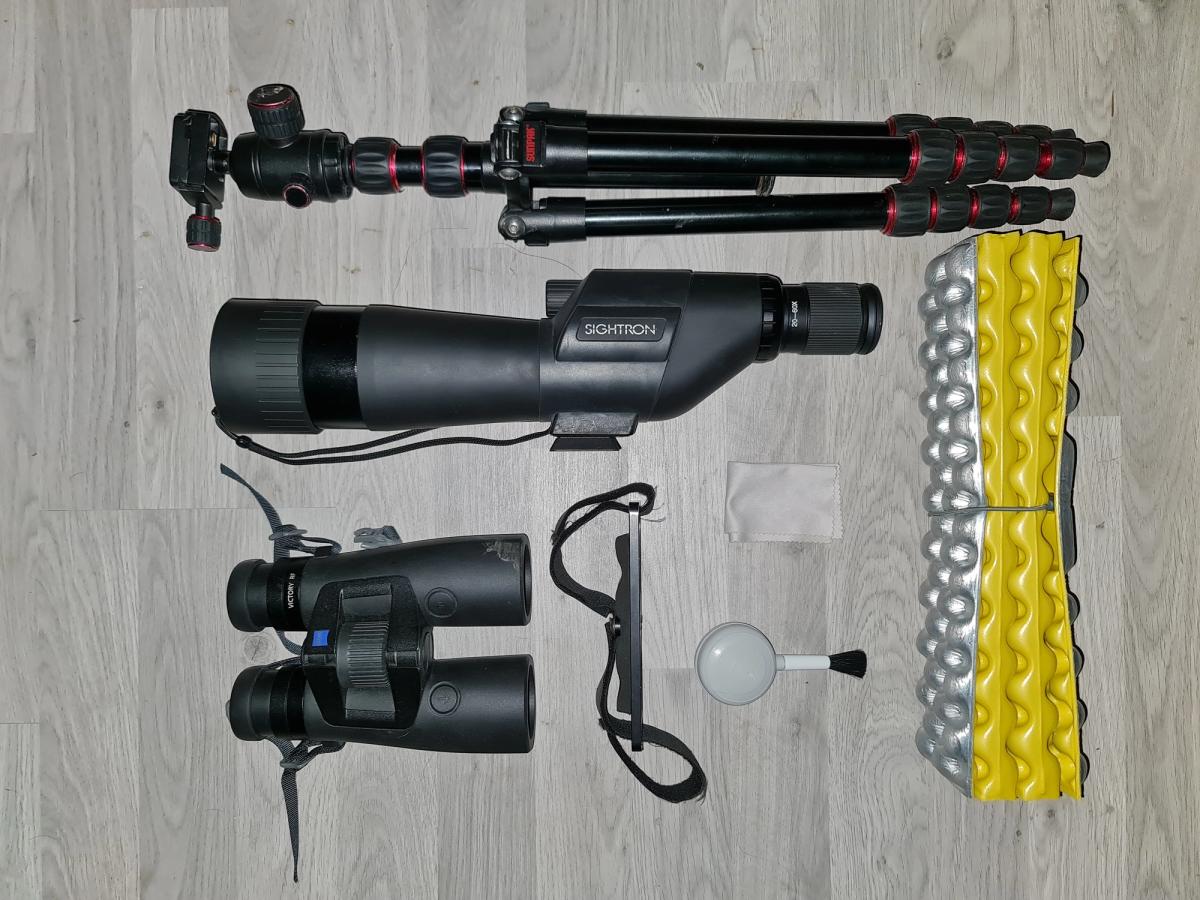
1. Price matters
I’m not saying that you can’t find animals with cheap binos. But more expensive binos does mean better binos. And when you start to get use them for scanning for game animals that a far away, you’ll really start to notice why the more expensive binos are better. So, the good old saying “buy once, cry once” really comes into play when you talk glasses.
Therefore, buy the most expensive pair you can afford, and you’ll have a pair of binos for the next 10-20 years if not longer, instead of a cheap pair you need upgrade every 2-3 years. You will thank you self in the long run.
In addition, better glasses don’t just mean that you’ll see more, they’re also feel better for your head. Using binos for 5 min this is not a big thing. But sit behind a bino or a spotter for a hole day with cheap binos, and you’re up for a terrible headache.
2. Every size has its place
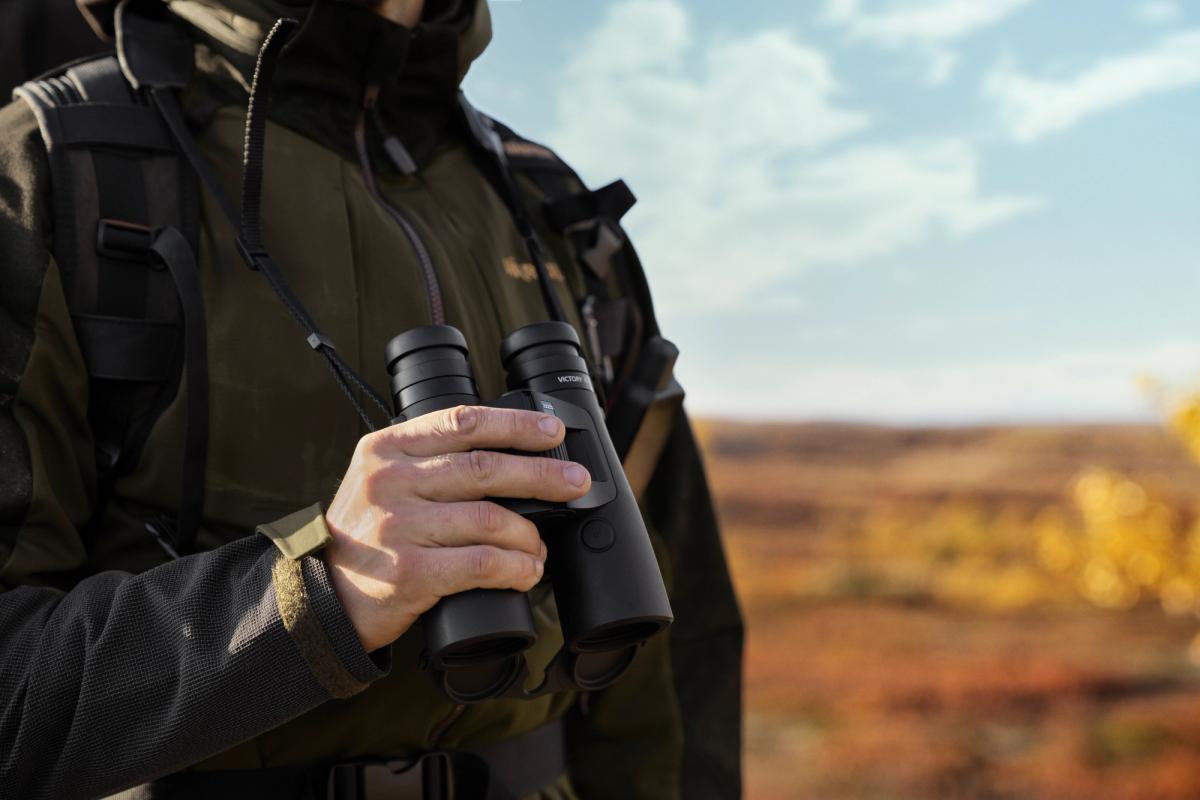
Bigger magnification makes you get closer to the animal, but it lets in less light and gives you a smaller field of vision. And the bigger the magnification will make it harder to keep your binos still. The optimal size of the magnification really comes down to where you hunt, and personal preference. I will never go for something smaller than a pair of binos with 10X magnification, even for the thick bush in Cameroon. For me, it would be even better if I could get a pair with 12 X magnification (but they don’t make range finder binos bigger than 10X magnification). I also have a 15X magnification bino, but this is the extra pair I bring with me in my backpack. It’s not for running around with, but I use it when I sit down for glassing big mountain sides.
The binocular’s opening size is again a matter of preference. Bigger opening means more light, but also more weight and this can be an important thing, especially in the back country. 42 is the most all-round version, 50 or bigger is for me a too big weight penalty, unless you start to talk 15 power binos. Go the other way and you’ll find the 32. It’s a beautiful and useful piece for the bush, but a bit small for the mountains.
3. Steady aim
People will use a shooting stick to shoot a deer at 100 meters, but the same people will not bring a tripod to spot the deer at 1.500 meters, because it in their mind weighs too much. This makes no sense. Just as the shooting stick will make you rifle more stable, a tripod setup will keep your binos completely still as you don’t even have to touch them.
You will be able to see animals at a distance you’ve never dreamt of before. And if we start to talk about spotting scope, you should never go without one when you’re heading into the backcountry. Even if you find yourself without a bino tripod, there is still help. If you’re a bow hunter you can use your top cam as a support for your binos. If you don’t have a bow, use your backpack, and so on.
Next thing is to use the tripod properly. Always use the lowest possible position you can get into, so sitting or laying down is the way to go. This has two reason: first of all, it’s more comfortable, but more importantly, the lower the tripod is the more stable it will be.
For the same reason, when setting up the height of the tripod, use the legs, not the center post, as three legs are more stable than one. If possible, try not to touch your tripod or glasses. Point them at something, adjust the focus, and leave them. A finger on the focus wheel or your head touching the eye piece will result in small vibrations, especially when we’re talking big power spotters.
4. Don’t suffer for no reason
If you’re not comfortable you will be unfocused, and you will spend less time behind the glass. So, if you’re going to sit down for hours behind your binoculars, make yourself as comfortable as possible. Bring some puffy clothes to keep you warm and comfy, and use them.
I will even at times take a pair of mittens with me just for glassing. The thing that most people forget to bring, but I would never leave camp without is something to sit on. A glassing mat will make you time behind your binos so much more comfortable, it will mean that you won’t freeze your ass off and that you don’t get sharp stones poking up your bum.
5. Climb high, spend time
Find a good vantage point. Higher and steeper often means better as you can see more. When I guide in Greenland, I will look for areas where I know the animals like to be. Then I’ll look at the surrounding area for a high point where I can see the most country, then start to clime right to the top.
Set up your bino kit and start glassing. You may not see anything at first, but before you start moving on, make sure you have looked through the complete area five times. Then do it five more times. Because even in the treeless country of Greenland I’ve had whole groups of muskox appear 100 meters before me, after I’ve been looking through the whole area for hours. Just because you can’t see the animals at first glance doesn’t mean they’re not there.
6. Find the way
When you’ve found your animal, don’t just start running after it. Make a plan and use your glasses while making it. Plan your approach by using your binos, look for small terrain features that you can hide behind.
Figure out a complete route in your head that will keep you covered on your way, and make plans for alternative routes if your target start moving. Then remember that even though it may be easy to point out the animal in the terrain from where you are now, it doesn’t mean the terrain will look the same when you get up close. Find some terrain features that will be easy to find no matter where you see them from: a big stone on a ridge line, a cliff face, a bend in a stream or the like.
7. Don’t look for animals
Sometimes you will spot a complete animal, but more often you will need to look for small features like a clump of hair, a piece of an antler, in general just something that’s out of place. In the beginning, you will miss a lot, but the more you do it the better you get at it.
I have spotted muskox out at 10 km. Not that I could see that they were muskox, but out in a big green valley there were 10 black spots, and that was just out of place. To this day I still can’t tell you what gave them away, but some hours later we shot a big old bull out of a group of over 20 muskox.
8. Take care of your binos
Glasses can quickly get expensive. So, when you’ve finally saved up the money for the glasses of your dream, make sure to take care of them. Don’t use your dirty shirt to wipe off the lenses, keep a purpose made cloth for the job, and keep it handy. For me thats means in my bino harness. That leads me to the next thing: Get a bino harness. They are not only a smart way to keep your binos in place, they also offer protection for your binos in the field.
When you get home, give your binoculars a proper cleaning. I will normally just wash them in running water to clean the bino body. Most binos should be totally fine doing this, and I’ve never had problems doing it. But make sure your binos are up for the job first, so you don’t end up filling the inside with moist.
Then brush of the glass part with a soft hairbrush, you can even get some with an air brush built into it to blow any dirt or tiny stones way, so you don’t pull them over the surfaces of the lenses. When there is no more dust and dirt on the lenses, you can either with a optics cloth or special made paper and some optic cleaning liquid wipe the lenses down. Then your binos are ready to be put away until the next time you need them.
9. Know your distance
A range finder is nice to have when it comes to knowing the distance you’re going to shoot. But that not the only useful thing about it. A range finder is worth its weight in gold on a stalk, especially in thick bush.
Let’s say on a bow hunt, I spot an animal 200 meters out. I make my way into thick bush so it can’t see me on the approach. The problem is to pop out of the bush again in the right place. So instead of just guessing, I will range a tree in front of me, 50 meters out, and walk to that tree. Then I’ll range a new tree, 70 meters out, so now I have moved 120 meters. I keep doing this until I hit the distance I want.
If done correctly, I should pop out of the bush in shooting range of the animal I spotted earlier.
Written in corporation with Philip von Arenstorff who, after having served in the Royal Danish Army, has worked with outfitters from the North Atlantic to Africa. He is a steady contributor to several Danish hunting magazines.